Chats Details App
Chats/Archives section app widget
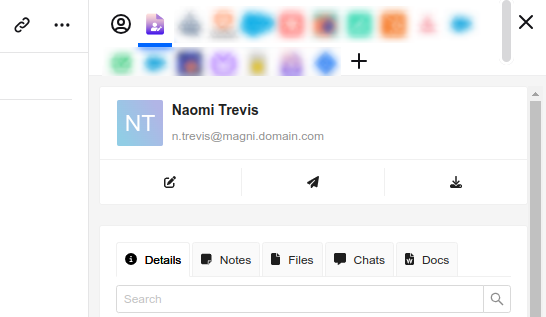
When you open the Livechat Chats or Archives section, you can find the AI CRM for LiveChat app widget in the Details on the right. Click its icon in the top right corner to open the app.
Edit Customer
At the top of the widget app screen, there are 3 action buttons. You can click Edit to change the LiveChat customer name and email. The change will apply to all the chats that took place with that customer.
Send PDF Transcript
The second of the three butons allow you to generate the currently chosen chat transcript as a PDF file. The transcript will be generated based on the default transcript template you have chosen in the Transcripts Design settings. Once generated the transcript is saved as a secure file and can be shared via the chat.
Download Transcript
The thurd button allows you to download the currently chosen chat transcript as a PDF file. The transcript will be generated based on the default transcript template you have chosen in the Transcripts Design settings
Updating/Adding Customers
If the opened chat in the Archives or the Chats section is not assigned to an existing customer, you can add a new customer by clicking the Add New Customer button at the top of the widget app screen. You will see a form with the fields that you configured in the Customer Form settings. Fill in the form and click Save to add the new customer to the CRM system.
You can also assign the chat to an existing customer by clicking the Select button next to the chosen one on the list. The list can be alsow browsed by typing the name or email address in the search bar.
Details
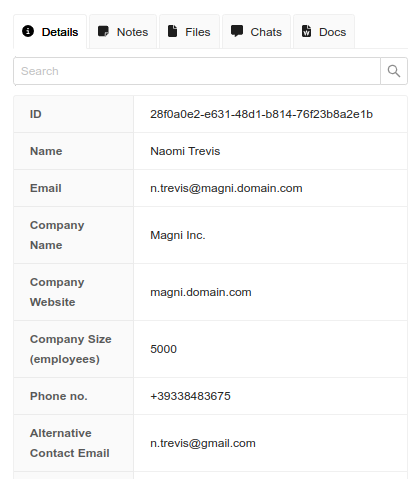
If the chat is assigned to the existing customer (the customer is a returning one), you can see the customer details in the Details tab. All the property fields are displayed there with the respective values.
Notes
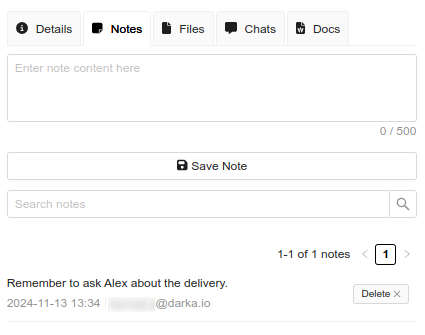
The Notes tab allows you to see the notes that were added to the customer profile. You can add a new note by clicking the Save note button. The note will be saved with the current date and time and the name of the agent who added it.
Chats
The Chats tab allows you to see the list of all chats with the selected customer.
Docs
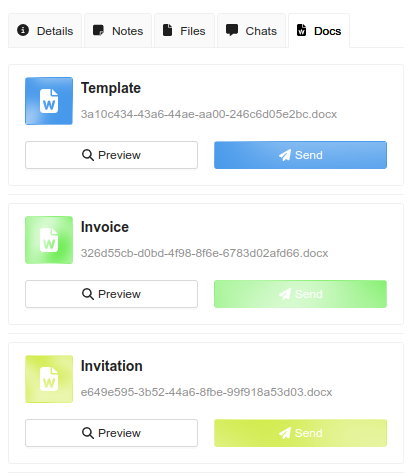
The Docs tab allows you to see the list of all prepared Documents Templates. You can preview them with the customer's data and sent ready PDF files in the chat right away.
Files
As requested by many LiveChat customers, we implemented the secure file sharing feature. Instead of the regular file sharing via the chat, you can share the files with the customers by using the Files tab. Once uploaded, the files are scanned by the antivirus. The system checks the files for viruses, trojans, tracking scripts, and other malicious software. The files are saved in the secure storage and can be shared with the customer by sending a rich message with the button opening the download link. The link is valid for 24 hours (not indefinetly as in the case of regular file sharing).
Agents can also use this tab to request files from customers that will be also scanned by the antivirus. Once that opiton is chosen, a rich message with button to upload the file will be sent to the customer. Once the file is checked for viruses, it will be available for download by the agent.
Internal Files
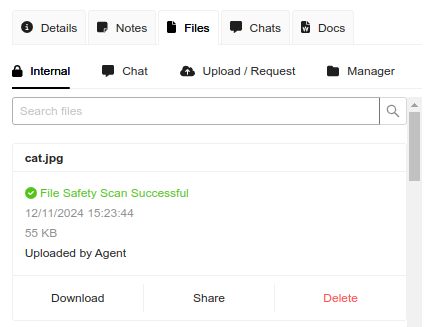
In the Internal Files section you can find the list of all files that were prepared or were already securly shared with the customer. Please note that to securely share the files with a visitor you need to first save them in your CRM system as Customer. If a visitor is not saved or recognized as Customer, the Files section is not available in the widget app.
Chats Files
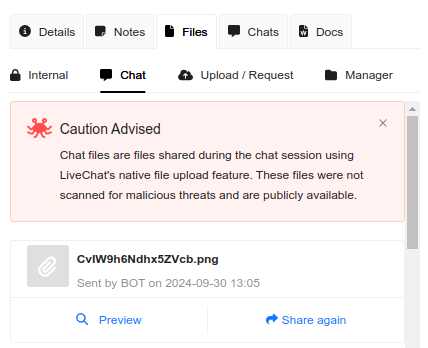
The Chats section allows you to see the list of all native LiveChat attachments shared with the customer. Please note that the files are not scanned for viruses and are not saved in the secure storage. We recommend using the Files section to share the files securely instead.
Upload Files
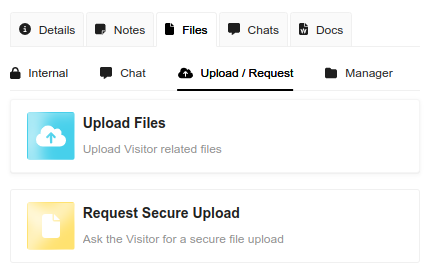
The Upload/Request tab contains two options. First is the files uploading - Upload Files. Once you click it you can choose the files to be uploaded. The files will be listed. You can add more files if needed by clicking Add.
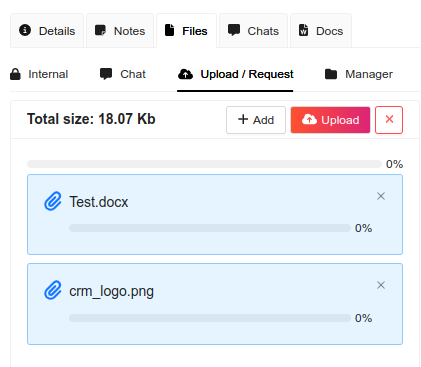
To upload the files click Upload. Once the upload is completed and the files are scanned you will see the green notification.
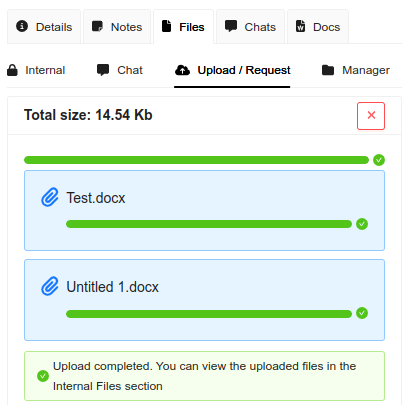
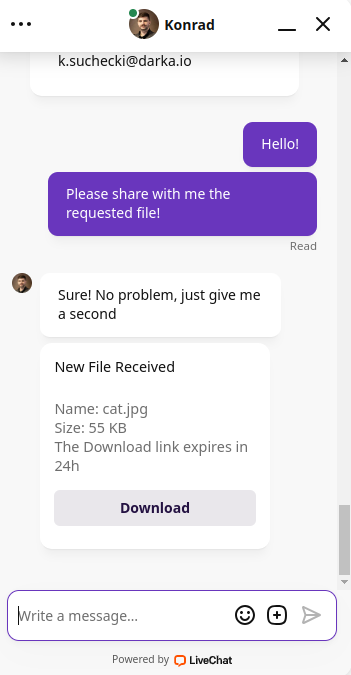
Once uploaded the files will be available in the Internal Files section to be sent to the customer. When you choose to send a file, the customer will receive a rich message with the button to download the file.
Request Files
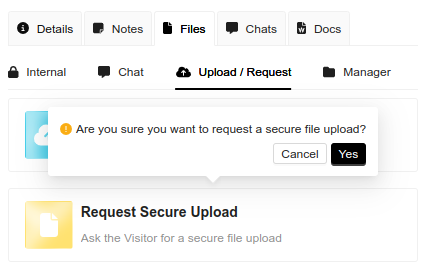
The second option in the Upload/Request tab is the Request Files. Once you click it, you need to confirm the request by clicking OK.
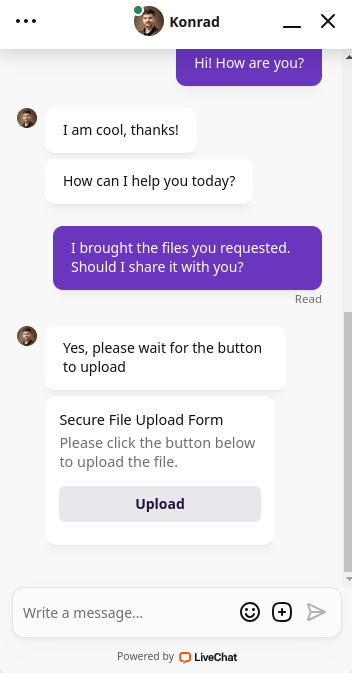
The customer will receive a rich message with the button to upload the file. The file will be scanned for viruses and once checked it will be available for download by the agent.
We would love to hear out your feature requests!
Contact us at support@darka.io.